How to make an online course – Part 1b: Lighting
The latest instalment in our “How to make an online course” series focuses on the lighting set-up you may need if you’re going to be in your videos. The previous posts covered planning and audio-visual equipment.
We’ve also previously written about the different types of video that you can create here. The five principal styles of video are as below.
- Classroom
- Talking head
- Content & voiceover
- Animation / action
- Hybrid
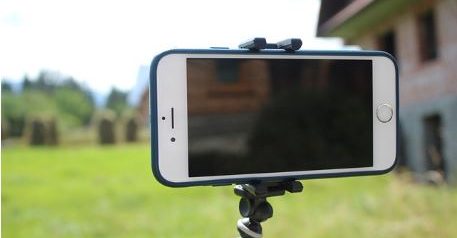
In styles 1, 2 and potentially 5 you may wish to record an individual, possibly yourself, on camera. To have the right impact, you want your shot to be well lit and achieving a degree of consistency is potentially more complicated than you may think at first.
Natural light versus artificial light
The starting point for many will be to consider how much natural light there is in the room you will be recording in. The easiest way to get as much natural light into a shot is to face a window and place the camera between you and the window. The reason why this setup is not used very often is that not only can the camera cast a shadow on you but the variability of natural light from moment to moment (e.g. as the sun passes behind a cloud) can radically affect the lighting in your shot.
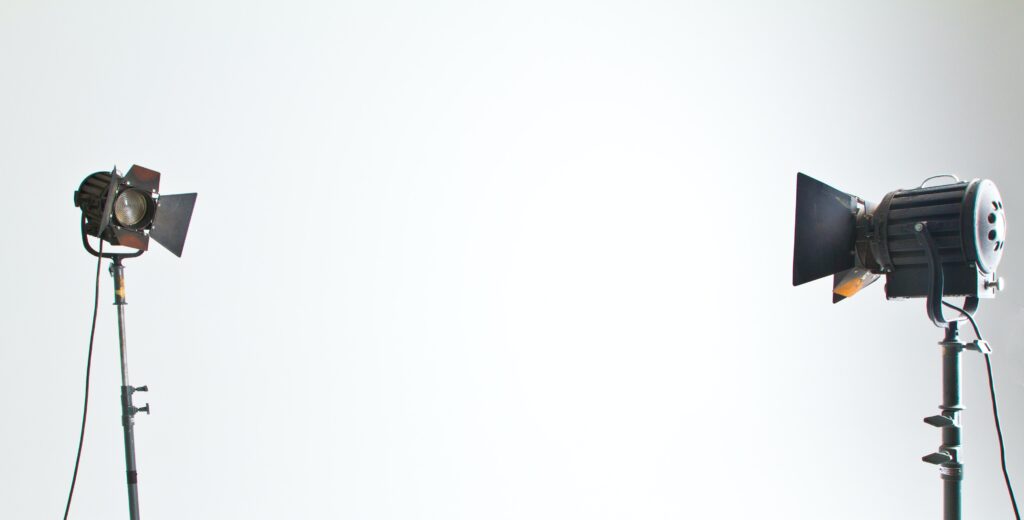
Consequently many people end up purchasing lighting equipment so that they can control the lighting as much as possible and generate the consistency required to deliver a professional-looking course.
Artificial light, however, is not as simple as purchasing some additional lights and directing them towards the subject. There is some nuance which needs to be understood to deliver good results. Firstly, light without any filter is known as hard light. Certain types of desk lamps (think of the kind used for study) don’t have dimming functionality and a focus to their beams that can be quite harsh.
To avoid such effects, lighting for videography will not only have dimming functionality (allowing you to adjust the brightness) but also has diffusion material allowing the light to be spread evenly. If you only have access to basic lighting then it is worth experimenting a little with the angle of lighting (e.g. reflecting it off a wall onto the subject to see if that reduces the harshness of the light) or by purchasing some material to help diffuse the light.
Other issues to consider include the fact that if the subject is wearing glasses or if there is reflective material behind the subject (e.g. laminated resources), the resulting glare and reflections can diminish the professionalism of the content.
3-point lighting
The most common lighting set-up involves 3 light sources and is therefore called a 3-point lighting set-up.
These three light sources are:
- Key: this is the principal light and therefore the brightest of the three lights that you use to light up the subject of your shot. Be careful not to blind your
- Fill: this second light is there to reduce the impact of shadows. You might notice these on the side of your face that is furthest away from the key. The idea is not to eliminate shadows completely but merely to reduce them to an acceptable level
- Back light: this light sits behind the subject in order to help create depth between the subject and their background.

The illustration shows what the approximate positions are for the three lights when the subject is facing the camera at the top of the illustration. If you are going for a 3-point lighting set-up you may wish to experiment with slight modifications to the positions of the lights and comparing how that affects any test footage that you record.
Purchasing equipment
Lighting, as with other technology products, has entry-level options through to advanced ones. Entry level options may begin with using existing bulbs with clamps or desk lamps. To modify the performance of these lights you might use some diffusion material, reflectors and/or tripods. If this doesn’t meet your needs then you may wish to get dedicated studio lights. You can buy good quality kits with light stands included. The top end of the market typically provides even greater control over the quality of the lighting (dimming, diffusion, higher output levels). The recent switch to increased remote working has brought about some alternative options which may appeal such as ring lighting for video calls and/or selfies so it is also worth researching these further.


Responses